Tasmania - National Hwy. 1 - S. of Campbell Town
National Highway 1 south of Campbell Town
All photos were taken heading south until the breakline. Not the breakline below this sentence. The one after that.
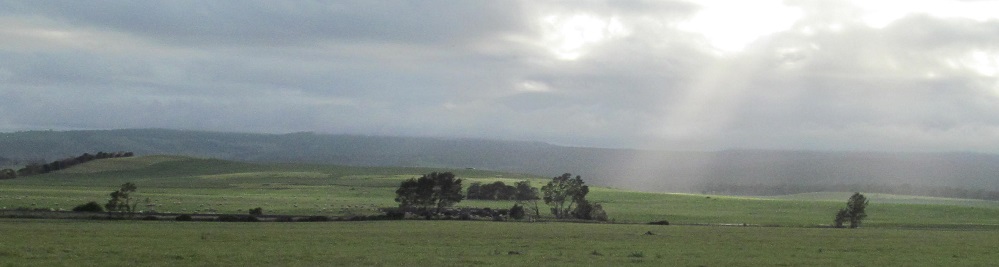

Panning from east to west, passing Mt. Franklin and Millers Bluff in the latter two (westward) photos.

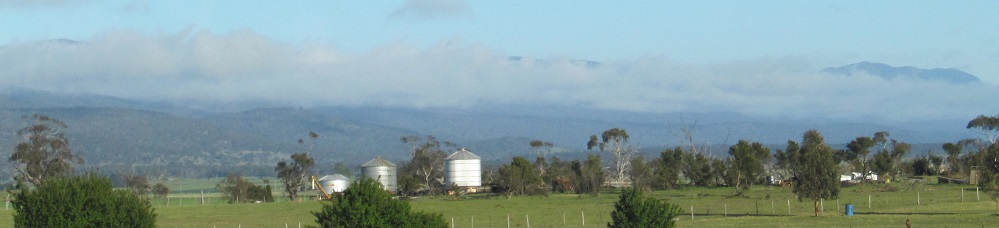
Horton Hill is dead ahead as I come to Ross. Tunbridge Tier, the southward extension of Mt. Franklin, is to my right.
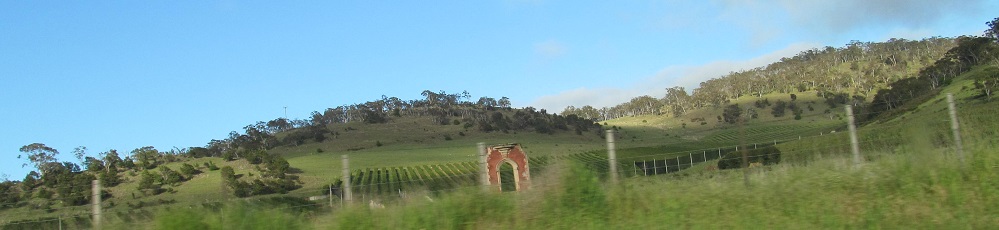
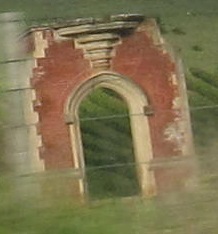
Speaking of Horton, this farmer has a piece of history in his yard. This brick doorway was the entryway to the Horton College boys' school, which operated from 1855-1892 but never achieved great financial stability. It was poorly maintained by its subsequent owners and torn down a century ago - except for this doorway.


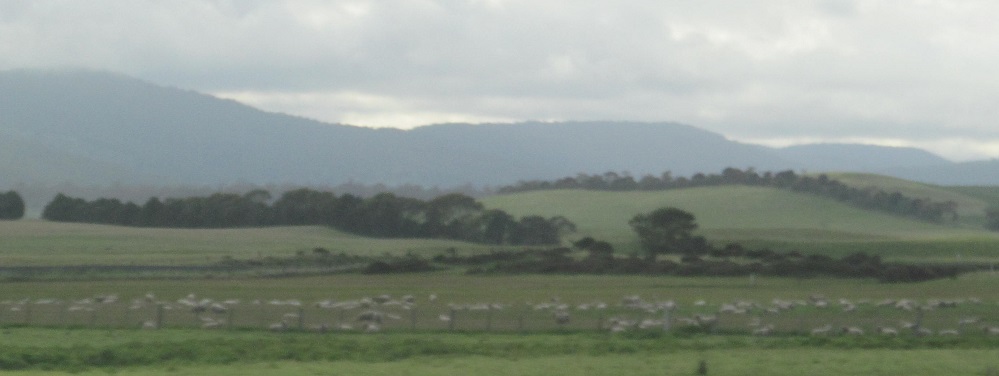
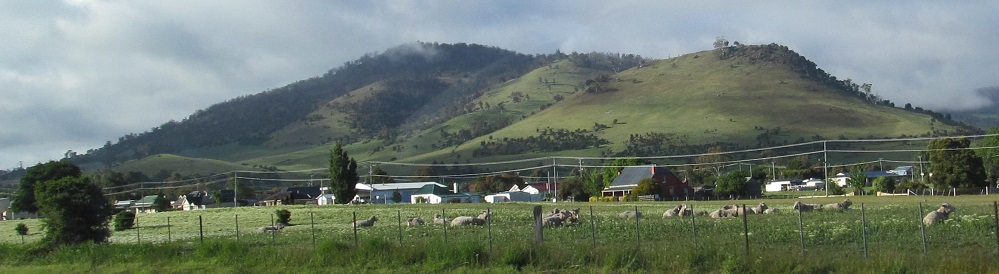
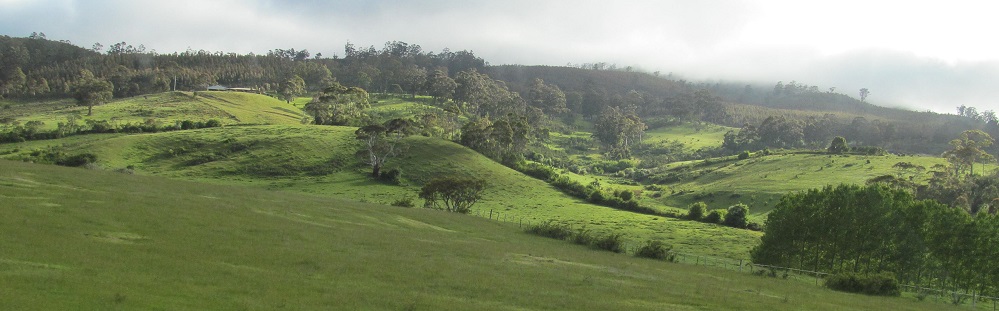
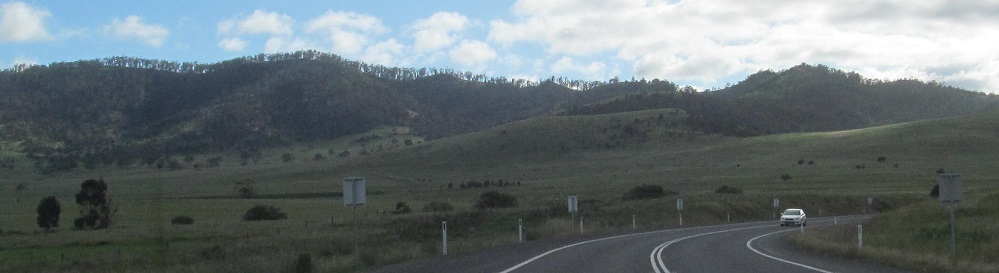
Starting ahead, with Kittys Hill (centre) and the Black Tier rising to the right, then panning to the right across Tunbridge Tier.
Looking southeast, this is either Murderers Tier or Marshalls Tier. Not even sure those are both official names.
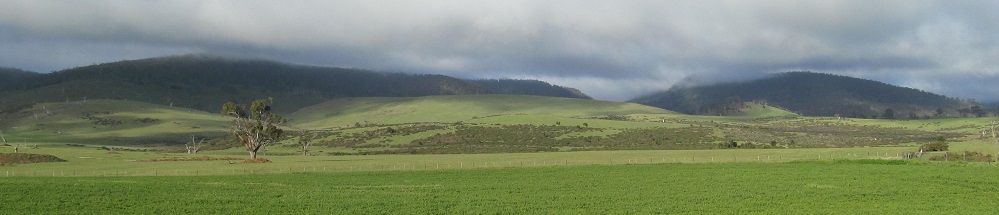
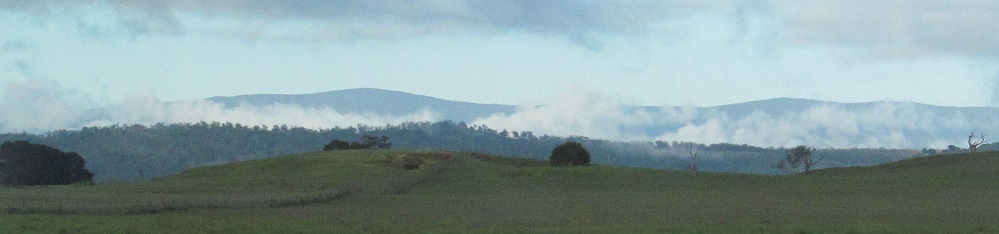
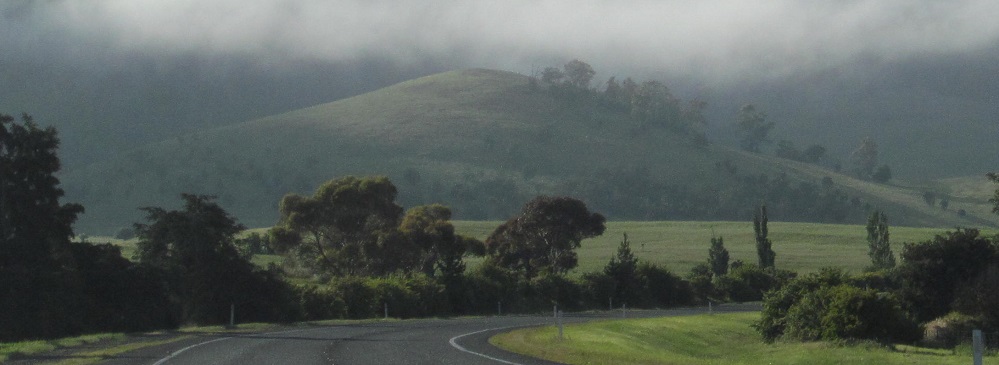
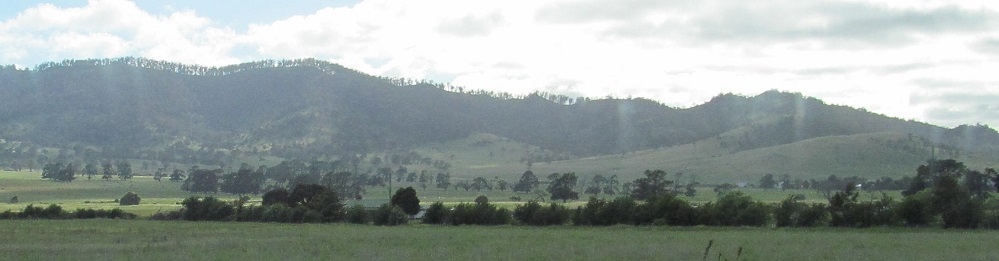
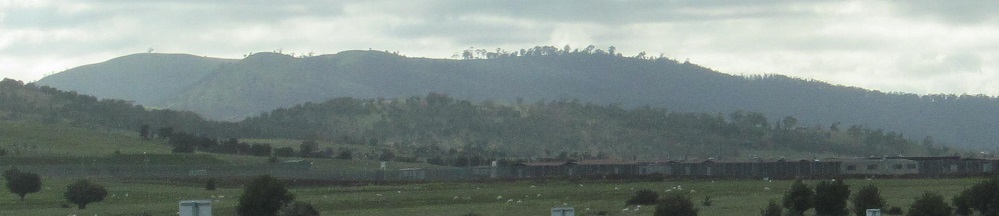
Rolling hills mark the end of Tunbridge Tier to my right near the Sorell Springs Road turnoff.
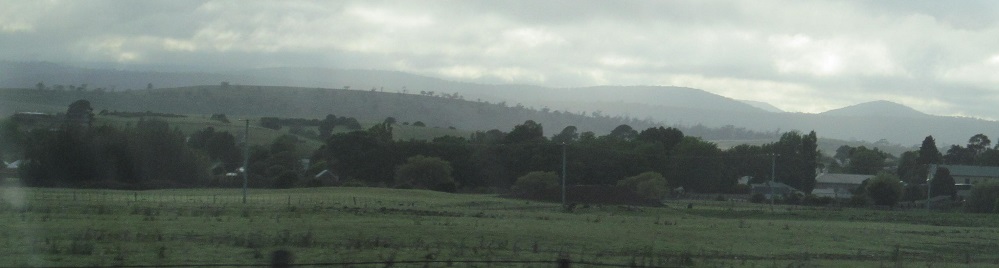
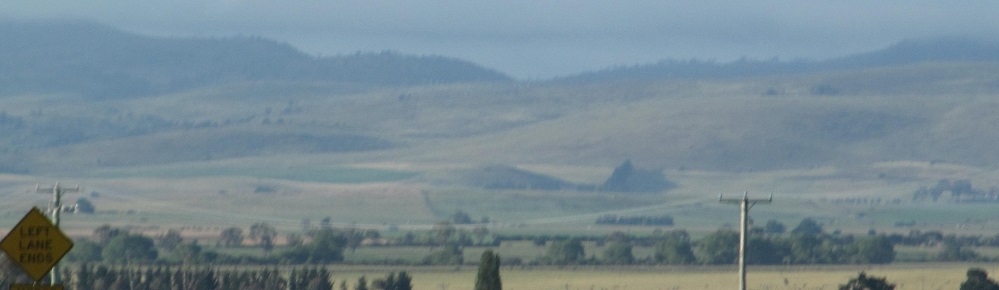
Across a low pass in Melton Mowbray toward Highland Lakes Road (Highway A5).
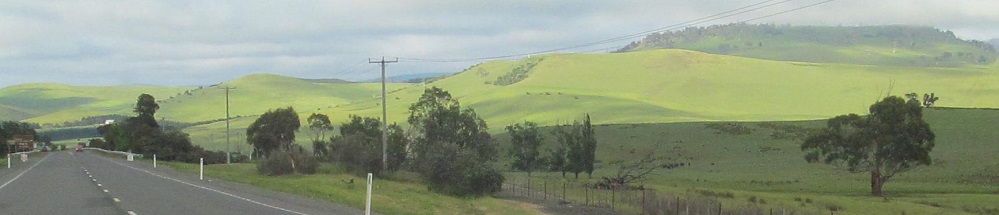
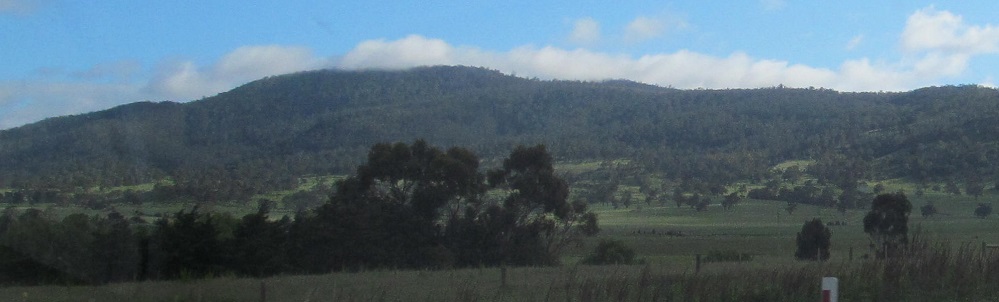
Coming to Kempton, I face Big Hill straight ahead, gradually passing it to my right. The smaller mound ahead in the 3rd photo is part of Constitution Hill.
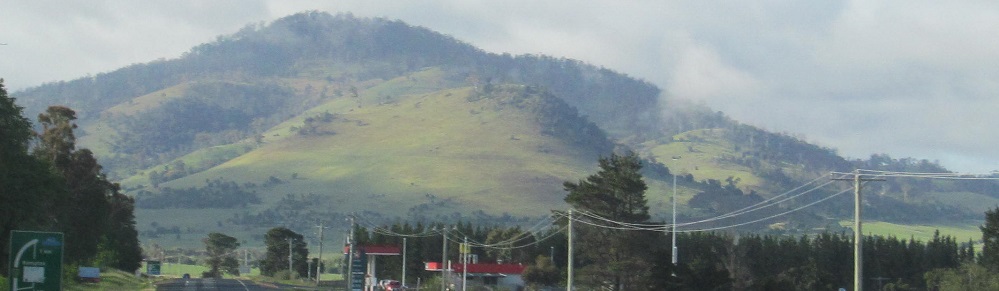
Devil's Elbow is ahead in Dysart.
The only time in the morning that the hills to my left are illuminated is when the road is heading nearly east, so they bask in the southerly sun.
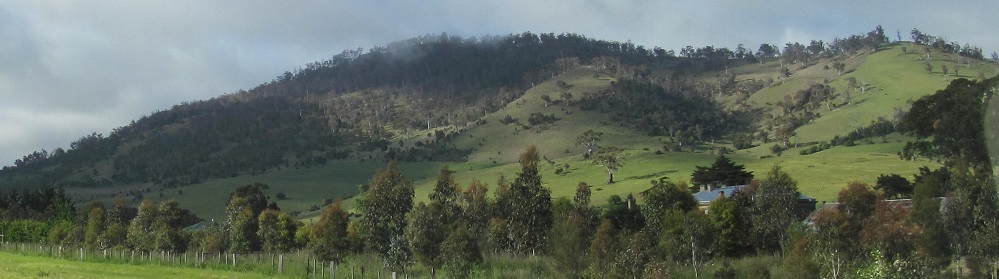
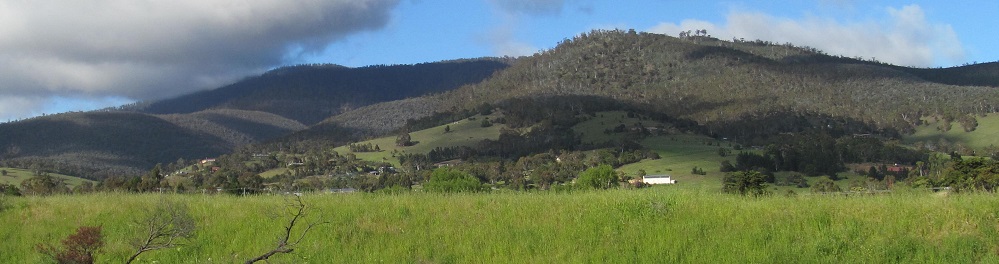
Looking east at the foothills of Lagoon Tier, left (tilted) and right. Merriworth Hill is to the right in the 2nd photo.
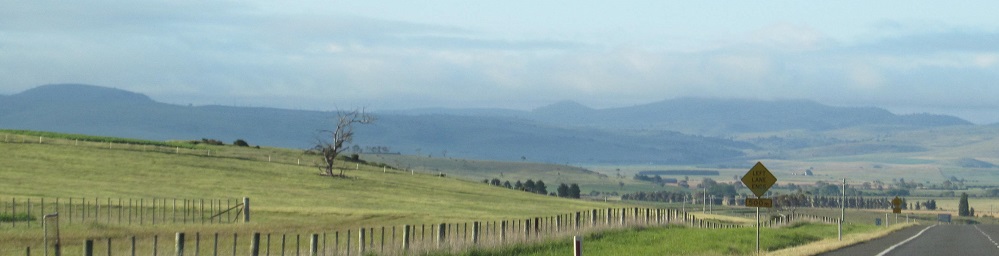
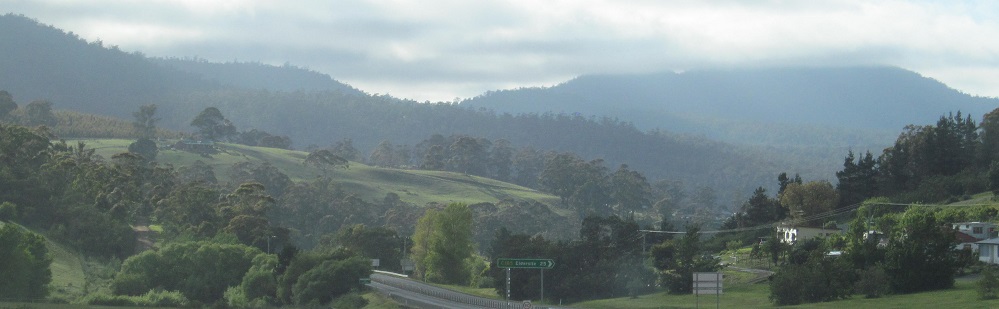
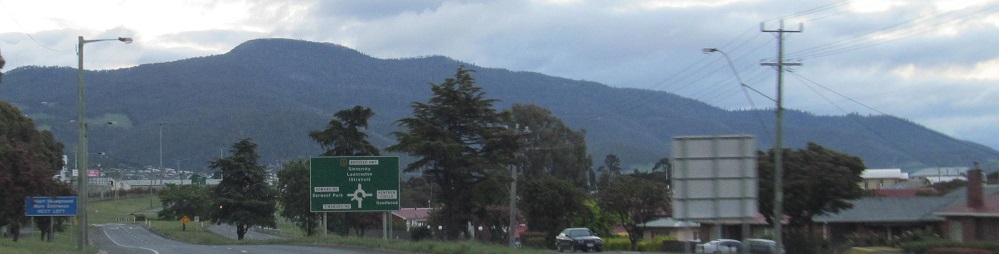
The highway turns in Pontville to bypass Brighton. Photos turn from east to southeast, ending on the Coal River Tier.
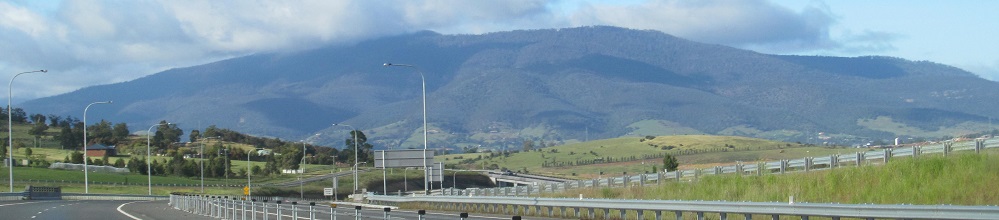
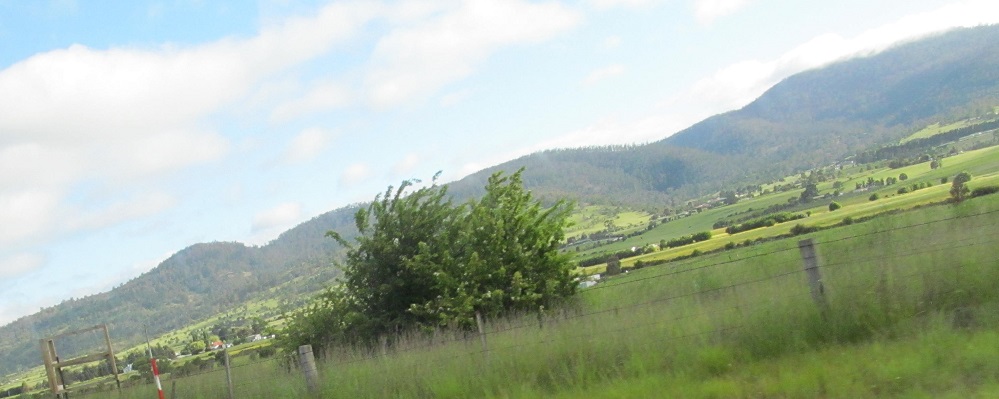
Mt. Faulkner is to the southwest. The second photo looks west with Brighton in the foreground, Mt. Dromedary to the right, and Mt. Lloyd in the centre distance.

Two more Faulkner photos bracket a look west at Mt. Dromedary from the Boyer Road (Highway B10) roundabout in Bridgewater.
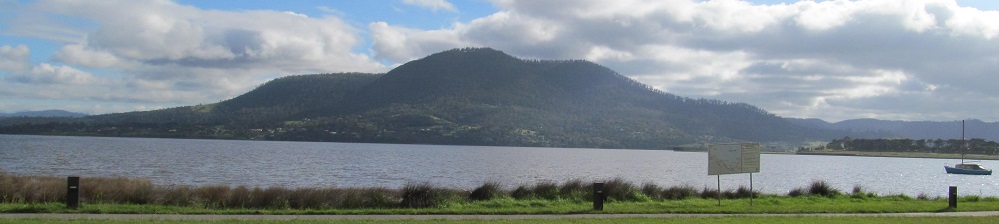
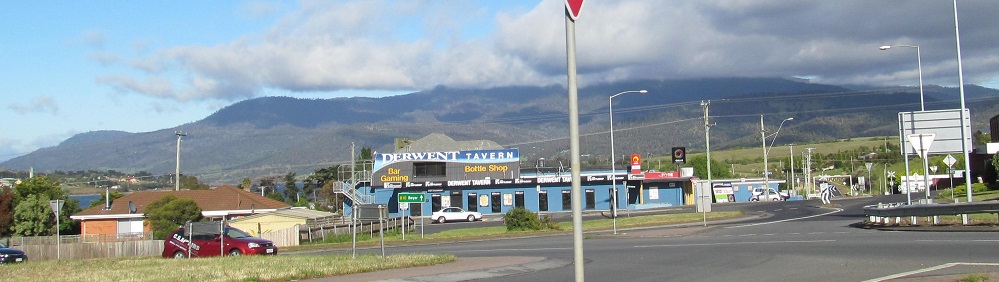
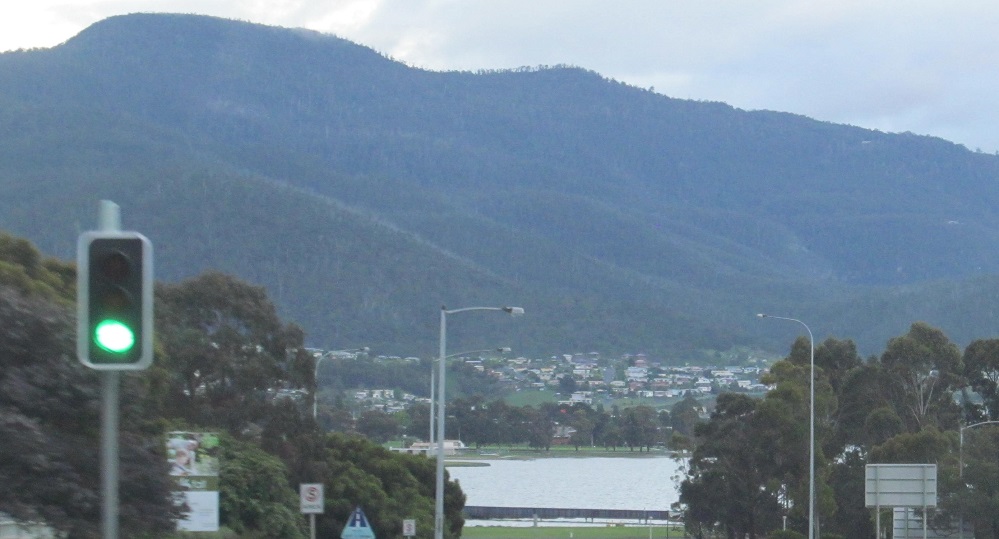
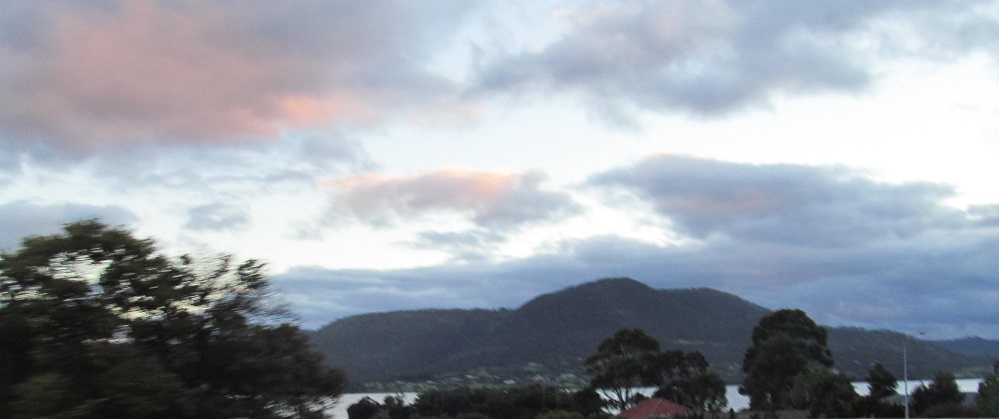
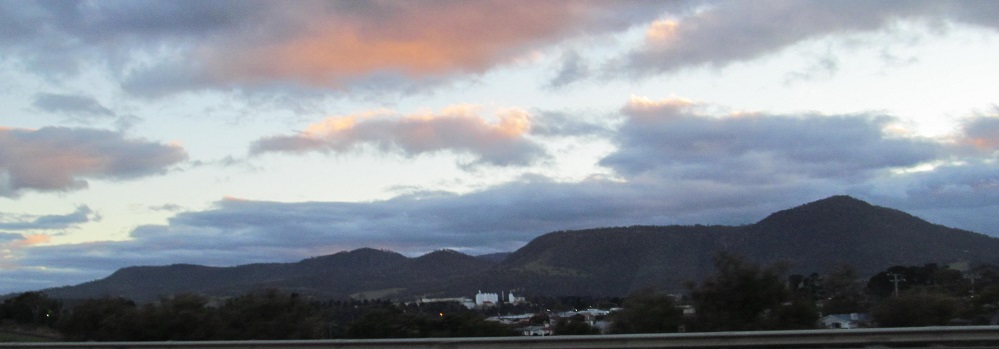
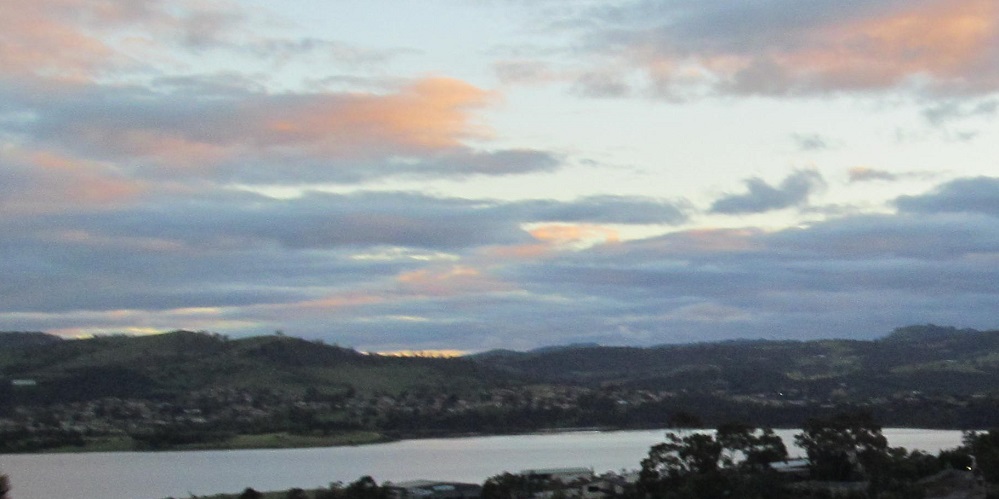
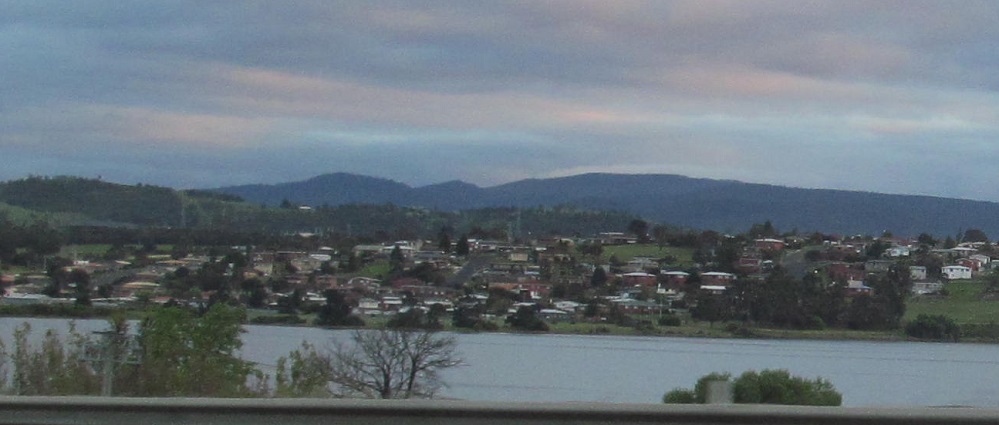
After crossing the River Derwent, the highway turns south to follow it to Hobart. These photos, taken 6 minutes apart, show different views of Mount Direction, which lies due east of Claremont.
All remaining photos were taken heading north.
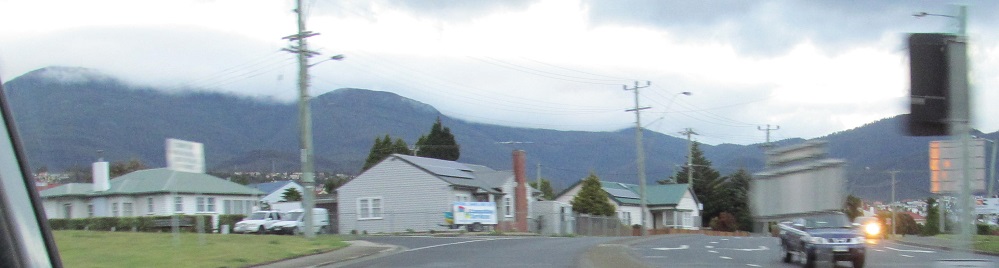
My first view of anything interesting is while crossing the railway in New Town. Mt. Direction rises in the background over Government Hills.
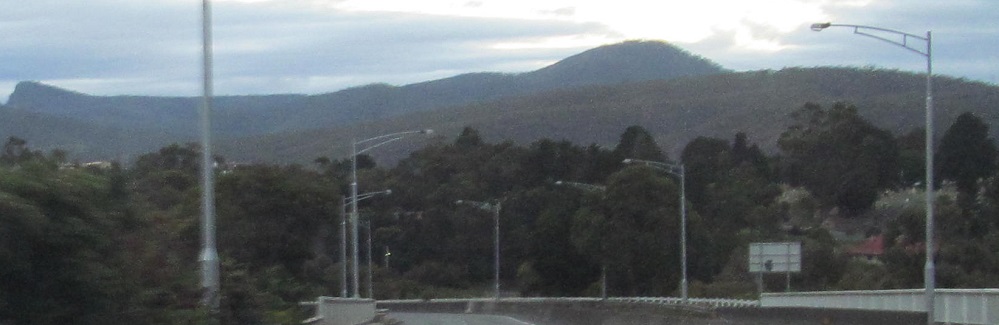
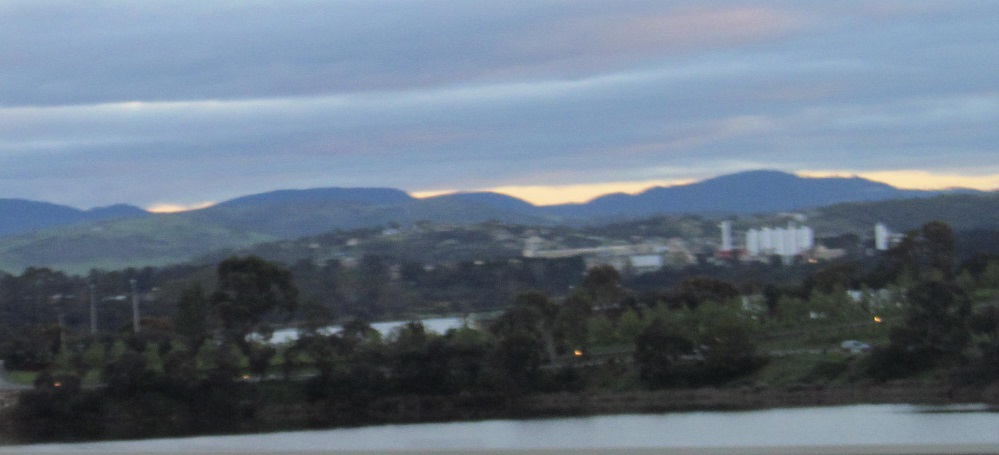
To the west in Derwent Park, the foothills of Mount Wellington and Mount Arthur are draped in morning fog.
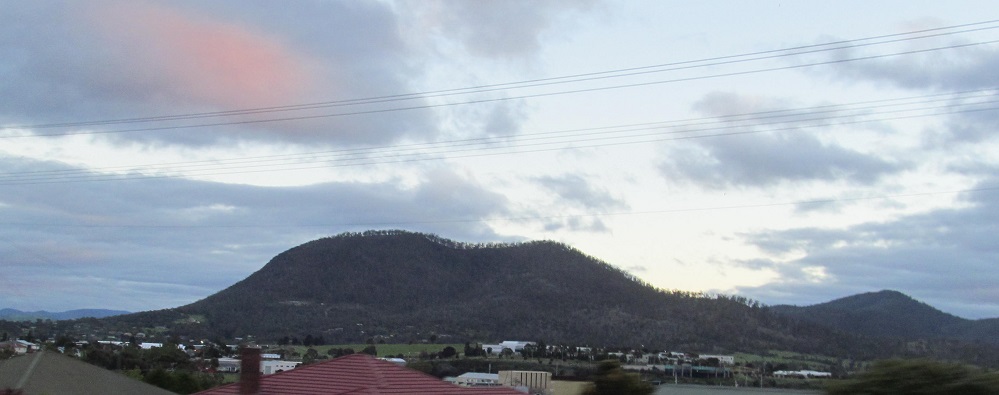
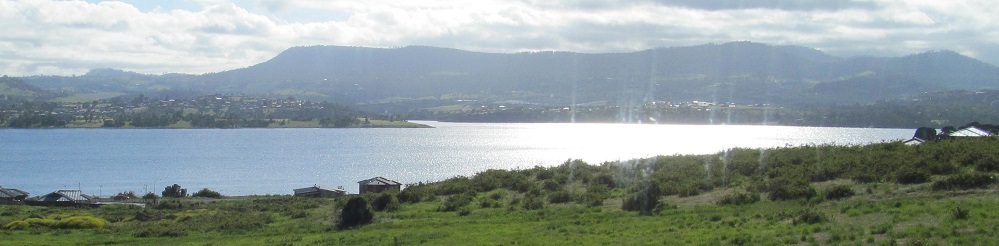
Mt. Direction is to the north-northeast over River Derwent, while north-northwest over Elwick Bay is the return of our friend, Mt. Faulkner.
The northern extents of sunrise grace Lagoon Tier.
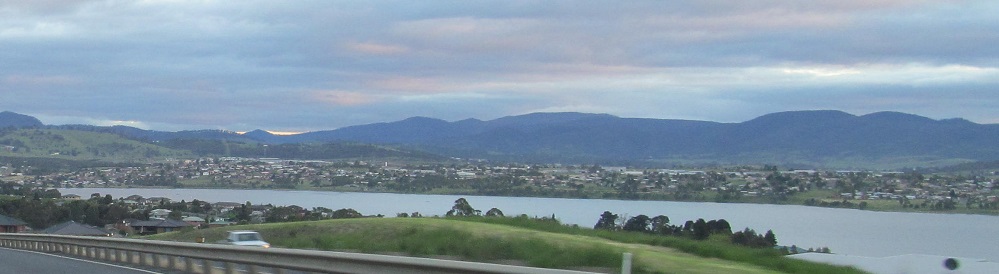
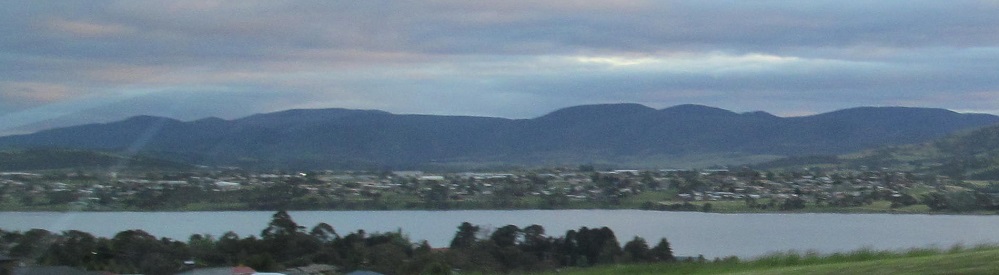
Compare these views of Mt. Direction with the first two. Similar vantages, very different lighting. The 2nd one is in Claremont looking east.
The Coal River Tier is to the northeast here (first 2 photos), and there is an interstice to the east before Mt. Direction rises from the ground.
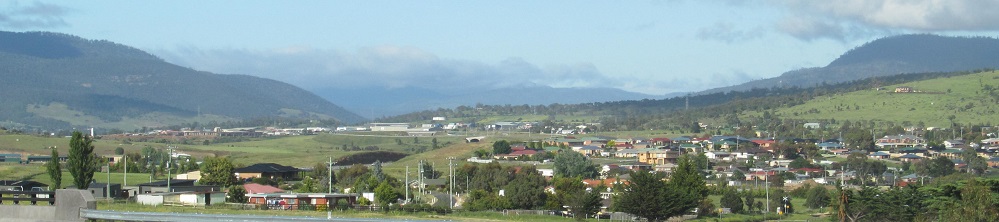
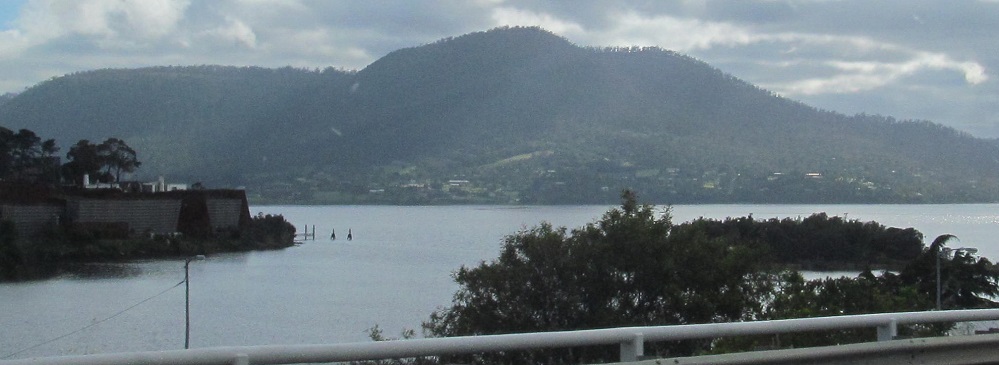
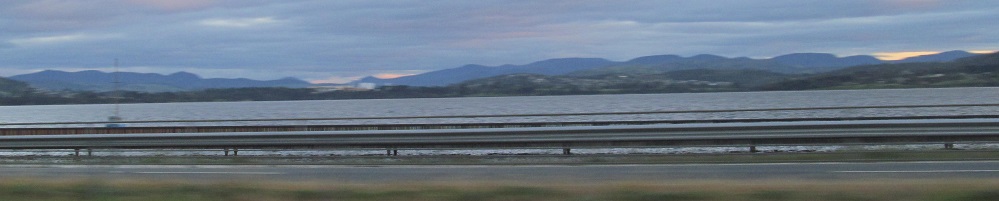
Looking northeast over Bridgewater before crossing the Bridgewater Bridge.
Back north on National Hwy. 1
Into Campbell Town
Back to National Hwy. 1 main page
See more of Hobart
National Hwy. 1 (NW of Launceston) road photos
Back to Tasmania Non-Roads
Back to Non-Roads main page